Today's Wedding DIY: BRAID

Last Thursday afternoon, I made my way over to Holborn for an afternoon of pampering. Not a manicure (I do my own nails), nor a massage (far too ticklish), but to have my hair washed, blowdried and braided. For me, few beauty treatments leave me feeling quite as refreshed and rejuvenated as when I leave a salon.

Is anyone else counting down the days until Game of Thrones is back? I've been watching trailers like a genuine addict, desperate for more. Since day 1, Daenerys has been major #hairgoals for me and I've tried (and failed) to recreate her intricate braids many a time. So off I went, photo on my phone, wondering just how much of a geek this made me (and not really caring. I need her hair. Now).
After a wash and blowdry, the hair is first prepped with volume lifting spray and texturising mousse, then tonged into cutesy ringlets.

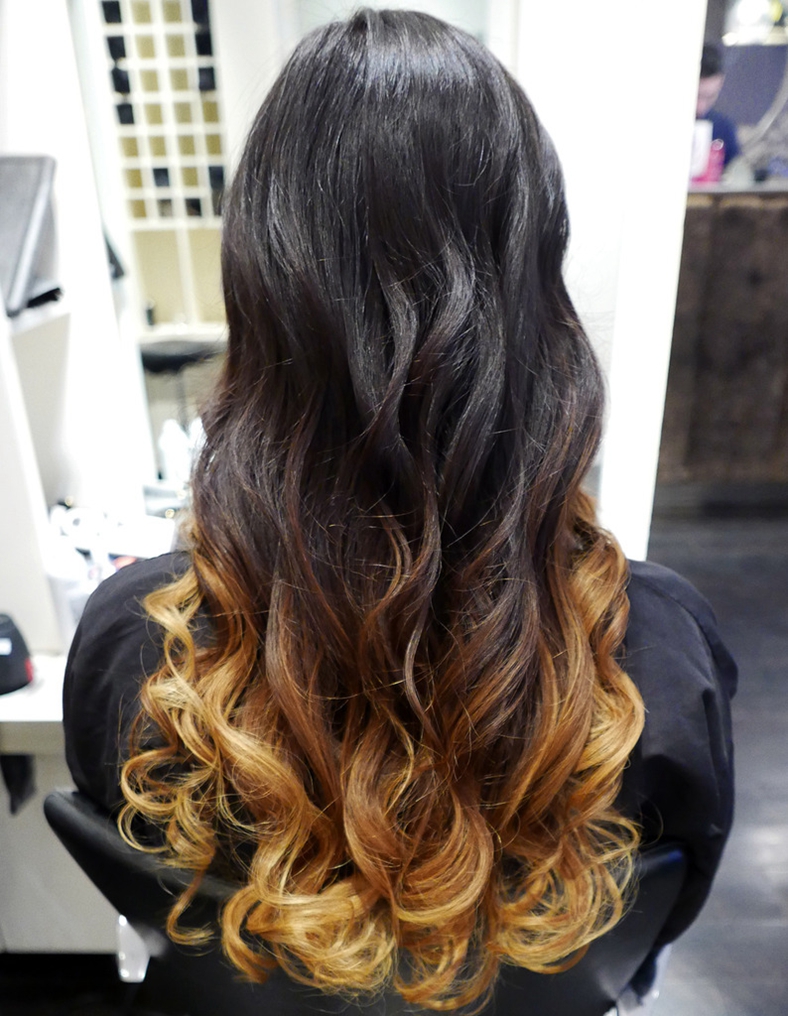
These are then brushed out into large, gorgeous curls. Quite honestly, at this point I was tempted to just ask Kayleigh to let me walk right out of the salon with my hair as it was. Ombre works so well with curly hair!
Next, the hair is braided into four French braids, two at the top of the scalp and one on either side.

The top two braids are joined together and wrapped with a piece of hair taken from underneath. The same then happens with the two on the sides. If you have ombre, highlighted or colourful hair, this kind of hairstyle will look awesome on you. Kayleigh left a few wispy strands on either side to soften the look, but you could also have the hair swept completely off the face.